03. Am I Projecting?
Projections
It turns out that there are lots of ways to stitch together images. The resulting shape of this stitched panorama can vary quite a bit.
All maps are projections, and all projections have some distortion.
Think about a flat map of the Earth. You may have heard that one of the most popular types of map uses a Mercator projection. You may have also heard that this projection wildly distorts the real size of continents. That’s because there is no perfect way to stitch a round shape into a flat map. All techniques result in different kinds of distortion. These techniques are called “projections”, and we’re going to talk about them now…
Loading Your Pano
When Autopano giga launches, you will see a new window open with some information about your panorama.
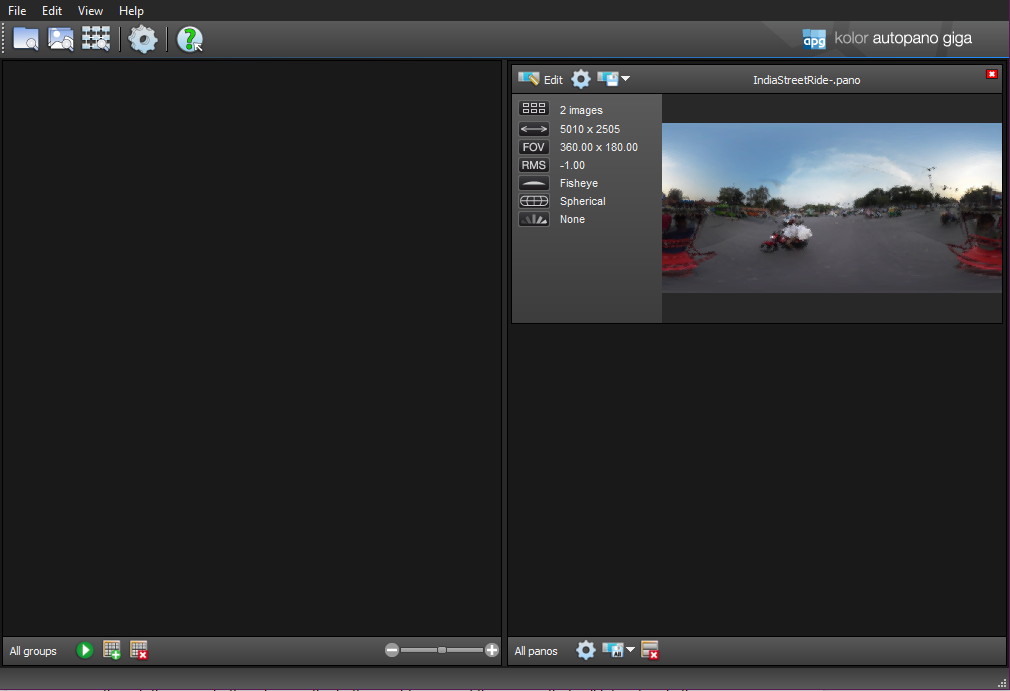
The main Autopano Giga interface
By either double-clicking on the image of your panorama, or clicking “Edit” we open up a window that will allow us to edit our stitch in a much more refined way that Video pro allows us to.
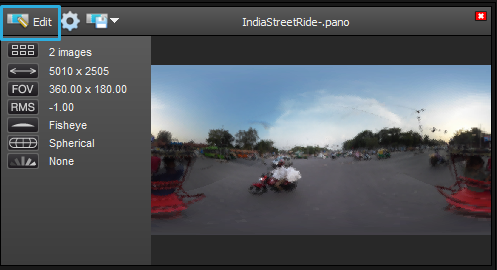
Click the Edit button to launch Giga editing interface
You’ll now see the main editing interface for your pano.

The main editing interface for Autopano Giga.
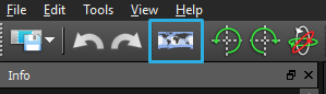
#### One of the first things you’ll want to do is activate the preview button. It looks like a magnifying glass and is located next to the zoom controls. This button allows you to see the output of the final stitch. It’s very useful!
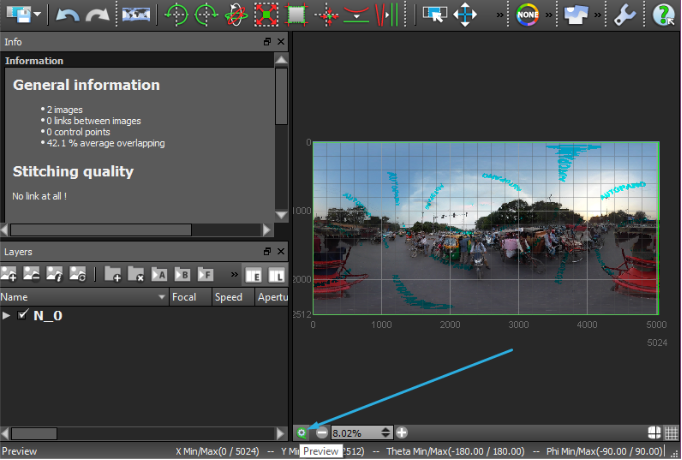
The Preview toggle button allows you to see the output of the final stitch. Be sure to turn it on when you want to see the final image.
Optionally, you may want to turn on the “Icon and text under” setting to make it easier to read the interface. This can be found under the Edit->Settings menu.
Turn on the “Icon and text under” setting to make the interface easier to understand
Projections in Autopano Giga
In the last lesson, we looked briefly at different types of projection. We can explore those right now - if we click the “projection settings” button in the top left of the screen, we see that the current setting is “Spherical” - also known as equirectangular. This mode is the correct one for 360 video, but we can take a look at all the other types of projection, simply by clicking through the options here.
Click the Projections button to see your projection options.
One of my favorites is “Little Planet” - while this isn’t suitable for VR viewing, it’s a fun way to look at your content - as though the shot you took was literally an entire tiny planet.

Once you’ve taken a look at the different methods of projection, return back to “Spherical.”
At this point, if our horizon line wasn’t completely straight and perfected in Autopano Video Pro, we can fix it here, using the “Modify Yaw, pitch and roll” window.
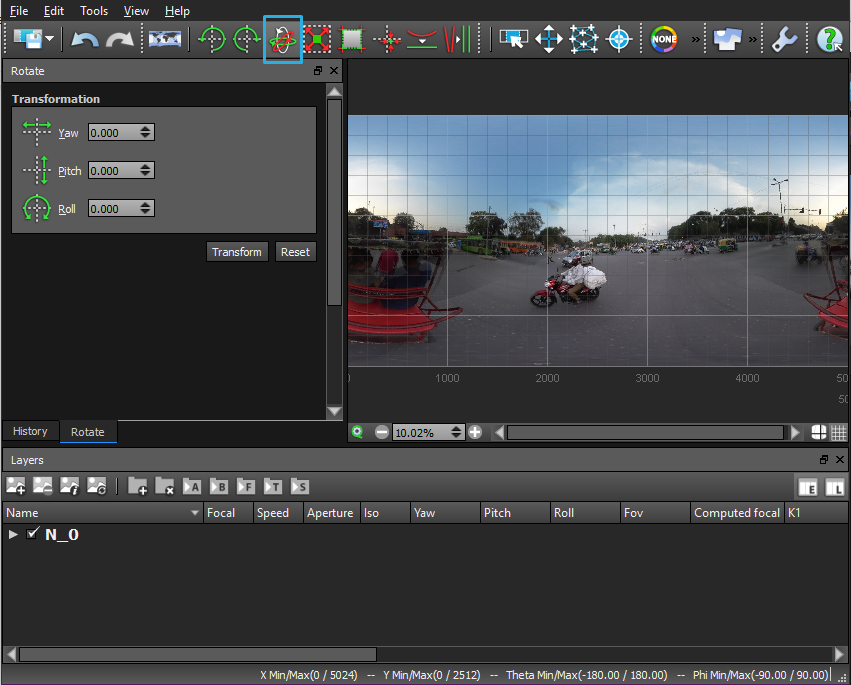
You can adjust yaw, pitch, and roll in Autopano Giga
The grid lines here are helpful, though there are buttons here in the bottom right corner of the screen that will let us toggle them on and off.
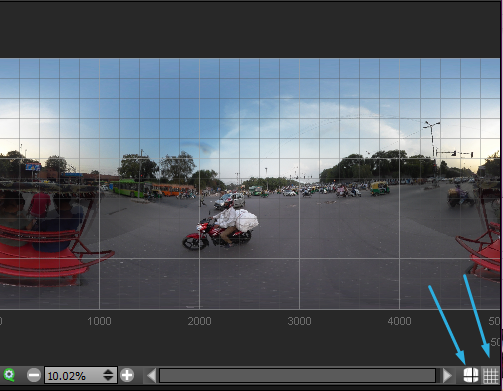
Use these two buttons to toggle the grid in Autopano Giga